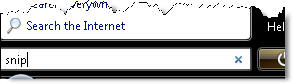
- Click on the Start Menu and start typing "snipping" into
the search box.
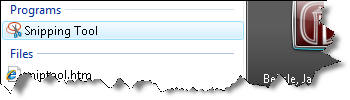
- Snipping Tool should show up in the Programs list above
the search box, and you can click on it to start it.
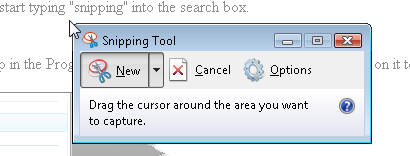
- The Snipping Tool window will appear on your screen. You
may move it to an edge of the screen so it's not in your
way, but it will also disappear when you start dragging a
selection area.
- The Snipping Tool assumes you want to create a new
clipping as soon as you open it. Your screen will dim, and
you can click and drag your cursor to select an area to
copy. As you drag, the selected area will be darker, and
surrounded by a red border if you've never changed the
Snipping Tool options.
- When you release the mouse button, the captured area
will open in the Snipping Tool window. If you're not happy
with the selection and need to try again, click the "New"
button.
- When you are happy with your clipping, press the second
button to save the screen shot as an image file. See the
tips below for file format suggestions.
Tips:
- If your screen shot contains a limited number of colors
and you want to retain crisp lines and keep the file size
small, save as a GIF file. If your screen shot contains many
colors and you want to retain crisp lines and full quality,
save as a PNG file. If your screen shot contains many colors
and you want to make the file size small, save as a JPEG
file.
- Before saving your screen shot, you can use the Pen and
Highlighter tools in the Snipping Tool toolbar to add markup
to your screen shot. The eraser tool will remove marks made
with the Pen and Highlighter Tools.
- You may email a screen shot without saving it by using
the "Send To" button on the Snipping Tool toolbar.
- Go to Tools > Options to change the way the Snipping
Tool operates. For instance, you can change the color of the
selection outline by selecting a new ink color, or turn the
outline off entirely by unchecking the box for "Show
selection ink after snips are captured."
- Enable the option "Display icon in the Quick Launch
toolbar" if you want to keep the Snipping Tool handy for
quick access.