Class 22 Notes are in progress and are subject to change
|
|
|
|
|
Class 22 Outline
Discourse
Minimize Discourse
Copy 22bones from Class to your shared folder.
TAs - please put postcards into folders inside Groups
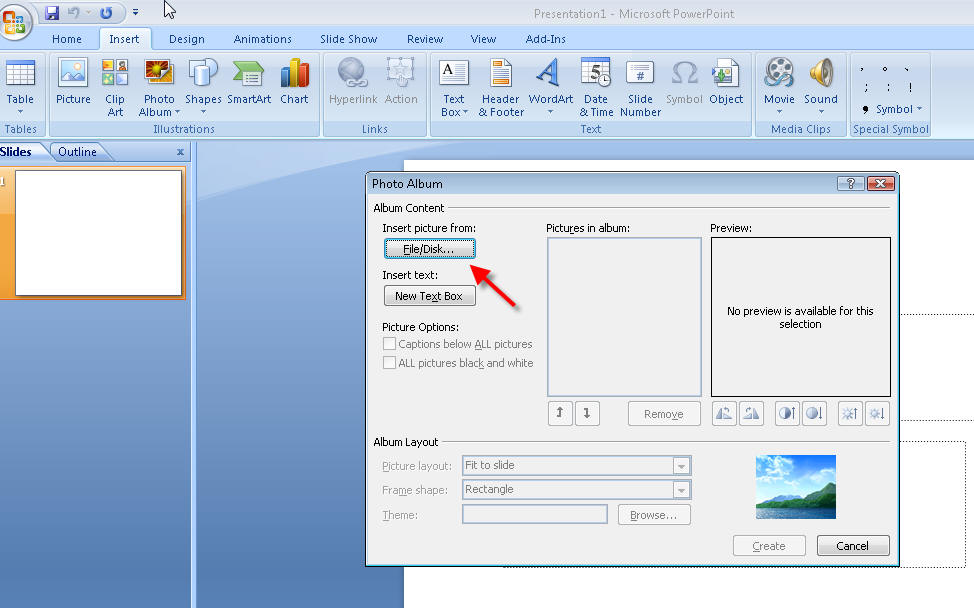
Making a Photo Album Slide Show Using Power Point - Use practice photos inside 22bones
Photoshop Elements Practice:
Note - there are 10 computers in CLT in the Video Editing section that have Photoshop *Elements*
"Painting" Color onto B&W - file: Eyes
Download Expression Web from the Microsoft folder in the S Drive:
S:\Microsoft\Expression Web
Introduction to HTML
Rt. click inside 22bones - New>text document
Save file as bones.htm inside 22bones
(it is very important to change the file extension from .txt to .htm)
Open IE and browse to file
Change, refresh, compare
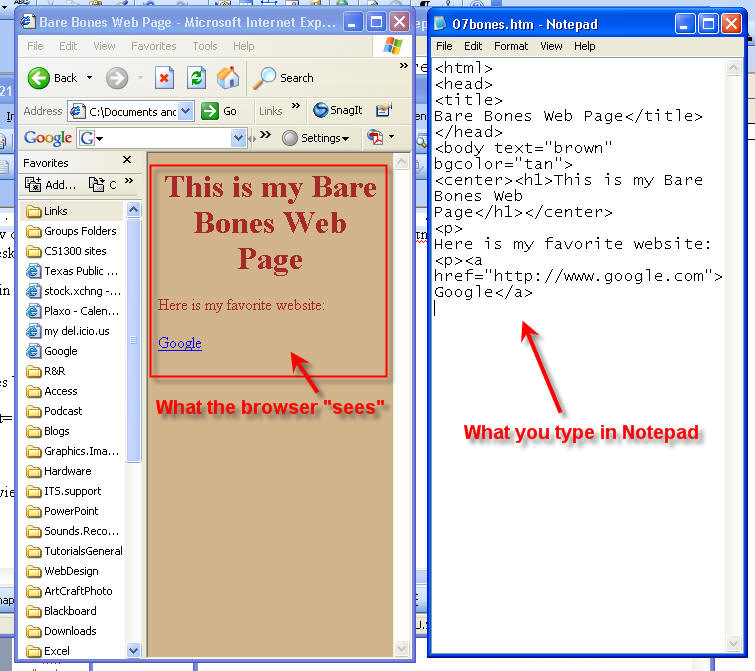
Bare Bones:
<html>
<head>
<title>
Bare Bones Web Page</title>
</head>
<body text="brown" bgcolor="tan">
<center><h1>This is my Bare Bones Web Page</h1></center>
<p>
Here is my favorite website:
<p>
<a href="http://www.google.com">Google</a>
<p>
<a href="http://www.trinity.edu">Trinity University</a>
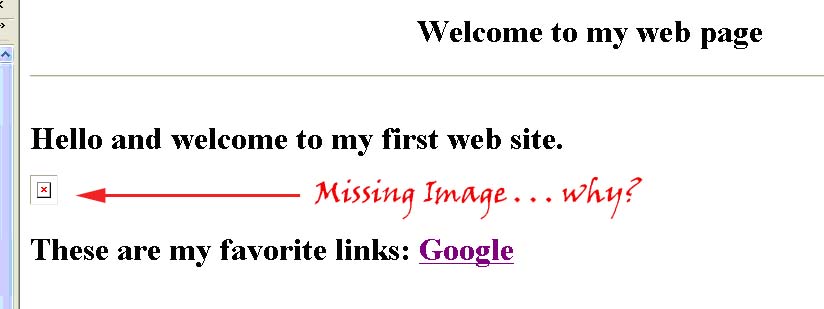
<p>Here is a picture of my cat.
<p>
<IMG src="cat.jpg">
<p>
<ol>
<li>
Cat food</li>
<li>Fake mouse</li>
<li>Catnip</li></ol>
<p>
<table border=1>
<tr><td>One Fish</td><td>Two Fish</td><tr>
<td>
Red Fish</td><td>Blue Fish</td></tr>
Ordered Lists
Unordered Lists
There are 16 color names that you can use: aqua, black, blue, fuchsia, gray, green, lime, maroon, navy, olive, purple, red, silver, teal, white, and yellow. If you want to use other colors, you must specify their RGB or HEX value.
HTML tags that you should know how to use:
<html>...</html>
<head>...</head>
<title>...</title>
<body>...</body>
<p>...</p>
<br>
<b>...</b>
<i>...</i>
<center>...</center>
<u>...</u>
<b>...</b>
<h1>...</h1>
<h2>...</h2>
<h3>...</h3>
<h4>...</h4>
<h5>...</h5>
<h6>...</h6>
<hr>
<img src = "cat.jpg">
<a href="http://www.trinity.edu">Trinity University</a>.
<ul>
<li>...</li>
<li>...</li>
<li>...</li>
</ul>
use <ol> above in place of <ul> above
Know about table tags.
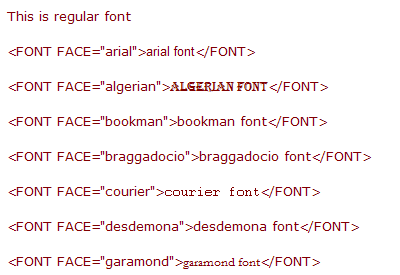
Changing fonts:
Webpage colors using hexadecimal codes.

<BODY BGCOLOR="#D8BFD8">
![]() When you create a graphic for the web, you choose your colors based upon their
RGB values. However, HTML will only recognize a color by its
hexadecimal equivalent of the RGB values or by its color name,
if it has one. Even though most HTML editors and graphics programs have RGB to
hexadecimal conversion capability built into them, it might still be helpful to
know how it works.
When you create a graphic for the web, you choose your colors based upon their
RGB values. However, HTML will only recognize a color by its
hexadecimal equivalent of the RGB values or by its color name,
if it has one. Even though most HTML editors and graphics programs have RGB to
hexadecimal conversion capability built into them, it might still be helpful to
know how it works.
Hexadecimal numbering system:
0 1 2 3 4 5 6 7 8 9 A B C D E F
Colors (web safe) are specified by 00 33 66 99 CC FF
Hexadecimal colors - a quick explanation
Browser-safe colors (FYI - Photoshop Elements can be set to show only browser-safe colors)
Homework for THURSDAY:
Add two new links to your bare bones page. Change the background color. Add one item to the list of things the cat likes. Find another photo of a cat. Save it in the correct folder and insert it into your page using the correct html code. Save and preview in browser.
Homework for Next TUESDAY:
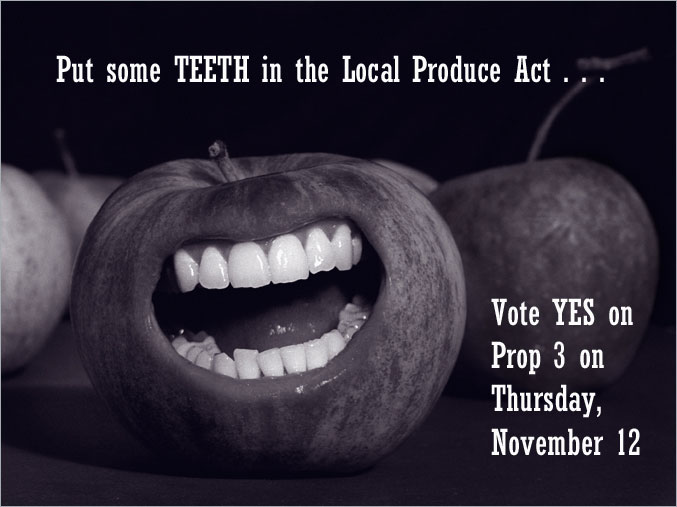
1. Make Your Own Picture That Lies
Using Photoshop Elements 6/7 tools, manipulate a photograph of your own choice
so that it has a different meaning or appearance from the original (this can
be your own picture or one that you download from the Internet) - Don't
forget about the
Stock Exchange. Use at
least 3 tools or adjustments (brightness/contrast, hue, saturation, etc).
You may include a text layer if it fits your purpose. Be
creative! Save two copies, one as a working (layered) photoshop project (.psd
file) and one as a flattened image (.jpeg). Be sure to save a copy of the
original(s) in the folder. (15)
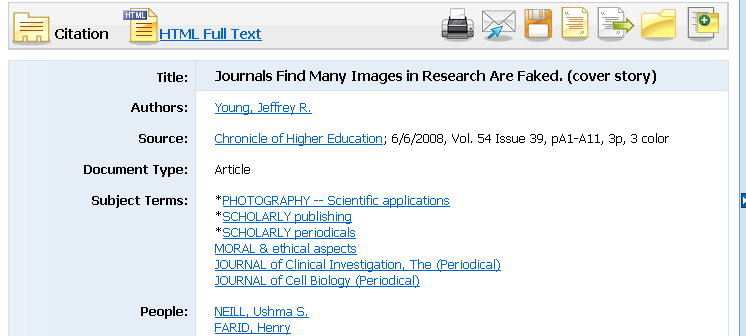
2. Look at the NYT slide show called A Brief History of Photo Fakery. Use an academic search database from the Coates Library to find articles on photo fakery or altered images. )For example, there is an article titled Journals Find Fakery in Many Images Submitted to Support Research in the Chronicle of Higher Education, 6/6/2008, Vol. 54 Issue 39, pA1-A11). Read your selected article critically and carefully. Think about a quotation or idea from the article and formulate a position for discussion in your blog entry (see below). Include a citation in MLA format in your blog entry.
3. Project Self-analysis – Upload the picture to your blog. Make a thoughtful and well-constructed entry in your blog discussing the questions below - include your thoughts on the article you read and a citation for that article:
- What picture you chose and why?
- Where did the picture originate?
- How was it manipulated?
- Why was it manipulated?
- Was the manipulation harmful?
- Why or why not?
- How did it relate to the article you researched?
<Log Off>