Your first animation in 30 minutes
This chapter will drive you step by step in animating a small "GingerBread Man" character.
Warming up
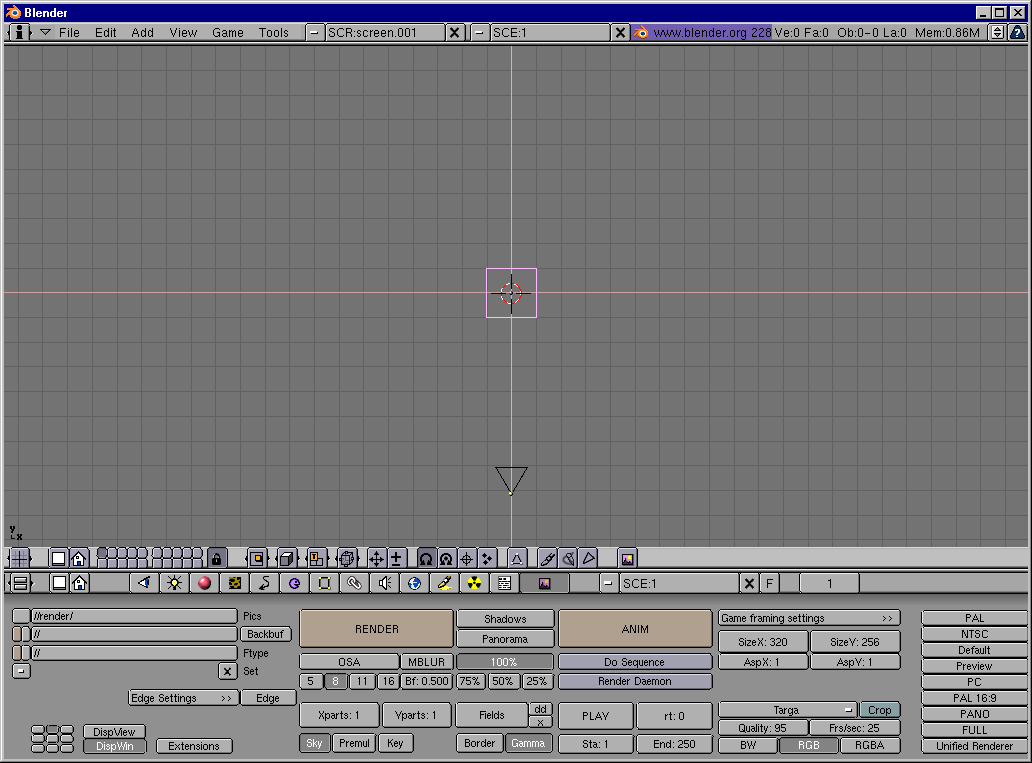
Fire up Blender by double clicking its icon or from the command line. Blender will open showing you, from top view, the default set-up: a camera and a plane. The plane is pink, this means it is selected Figure 1. Delete it via XKEY and by confirming clicking the Erase Selected entry in the dialog which will appear.
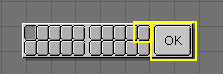
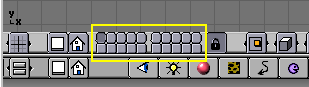
Now select the camera with RMB and press MKEY. A small toolbox like the one in Figure 2 will appear beneath your mouse, with the first button checked. Check the rightmost of top row and then the OK button. This will move your camera to layer 10. Blender provides you with 20 layers to help you organize better your work. Which layer is currently shown you can see from the group of twenty buttons in the 3D window toolbar Figure 3. You can change the visible layer with LMB and toggle visibility with SHIFT LMB