Warp Tool
 | WARNING THIS CONTENT HAS BEEN IMPORTED AUTOMATICALLY FROM 2.0 GUIDE -MIGHT BE OUTDATED AND/OR INACCURATELY CONVERTED |
The warp tool is a little-known tool in Blender, partly because it is not found in the edit buttons window, and partly because it is only useful in very specific cases. It is not something the average Blender-user needs every day.
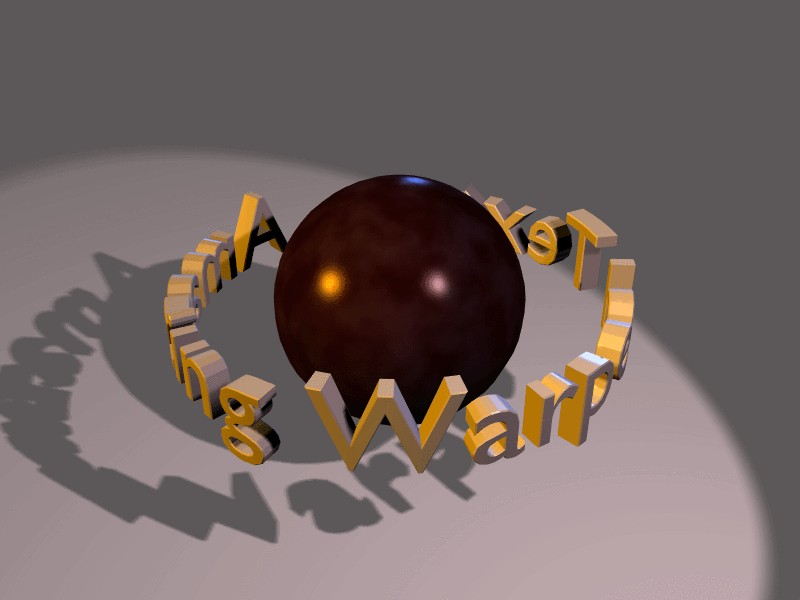
A piece of text wrapped into a ring shape is useful in flying logos, but it would be difficult to model without the warp tool.
Add the text in top view, set "Extrude" to 0.1 and set "Bevel" to 0.01. Lower the resolution so that the vertex count will not not be too high when you subdivide the object later on. Convert the object to curves, then to a mesh, because the warp tool does not work on text or on curves. Subdivide the mesh twice, so that the geometry will change shape cleanly, without artifacts.
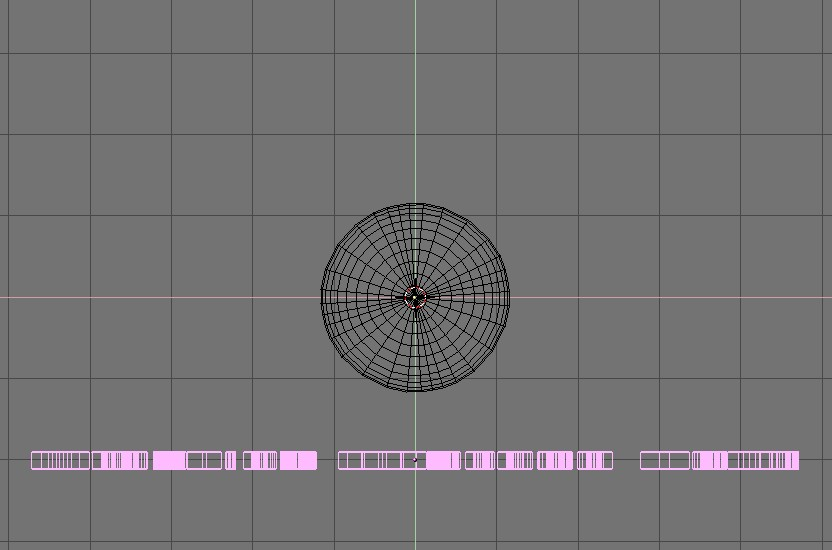
Switch to front view and move the mesh away from the 3D cursor. This distance defines the radius of the warp. See Figure 1.
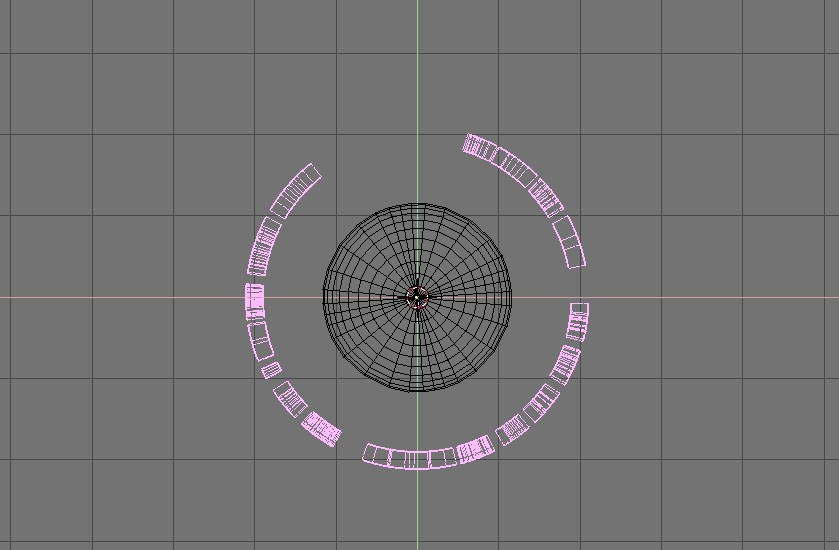
Place the mesh in edit mode and press the warp tool. Move the mouse upward to interactively define the amount of warp. See Figure 2.
Now you can switch to side view and rotate the ring of text to face the camera. The result is warp.blend. See Figure 3.